
Create
Give your post a banner based on its content.
Turn your article into a blog banner and supporting infographics. Create visuals in your publishing workflow and keep the results in your Media Library.
14-day free trial No credit card required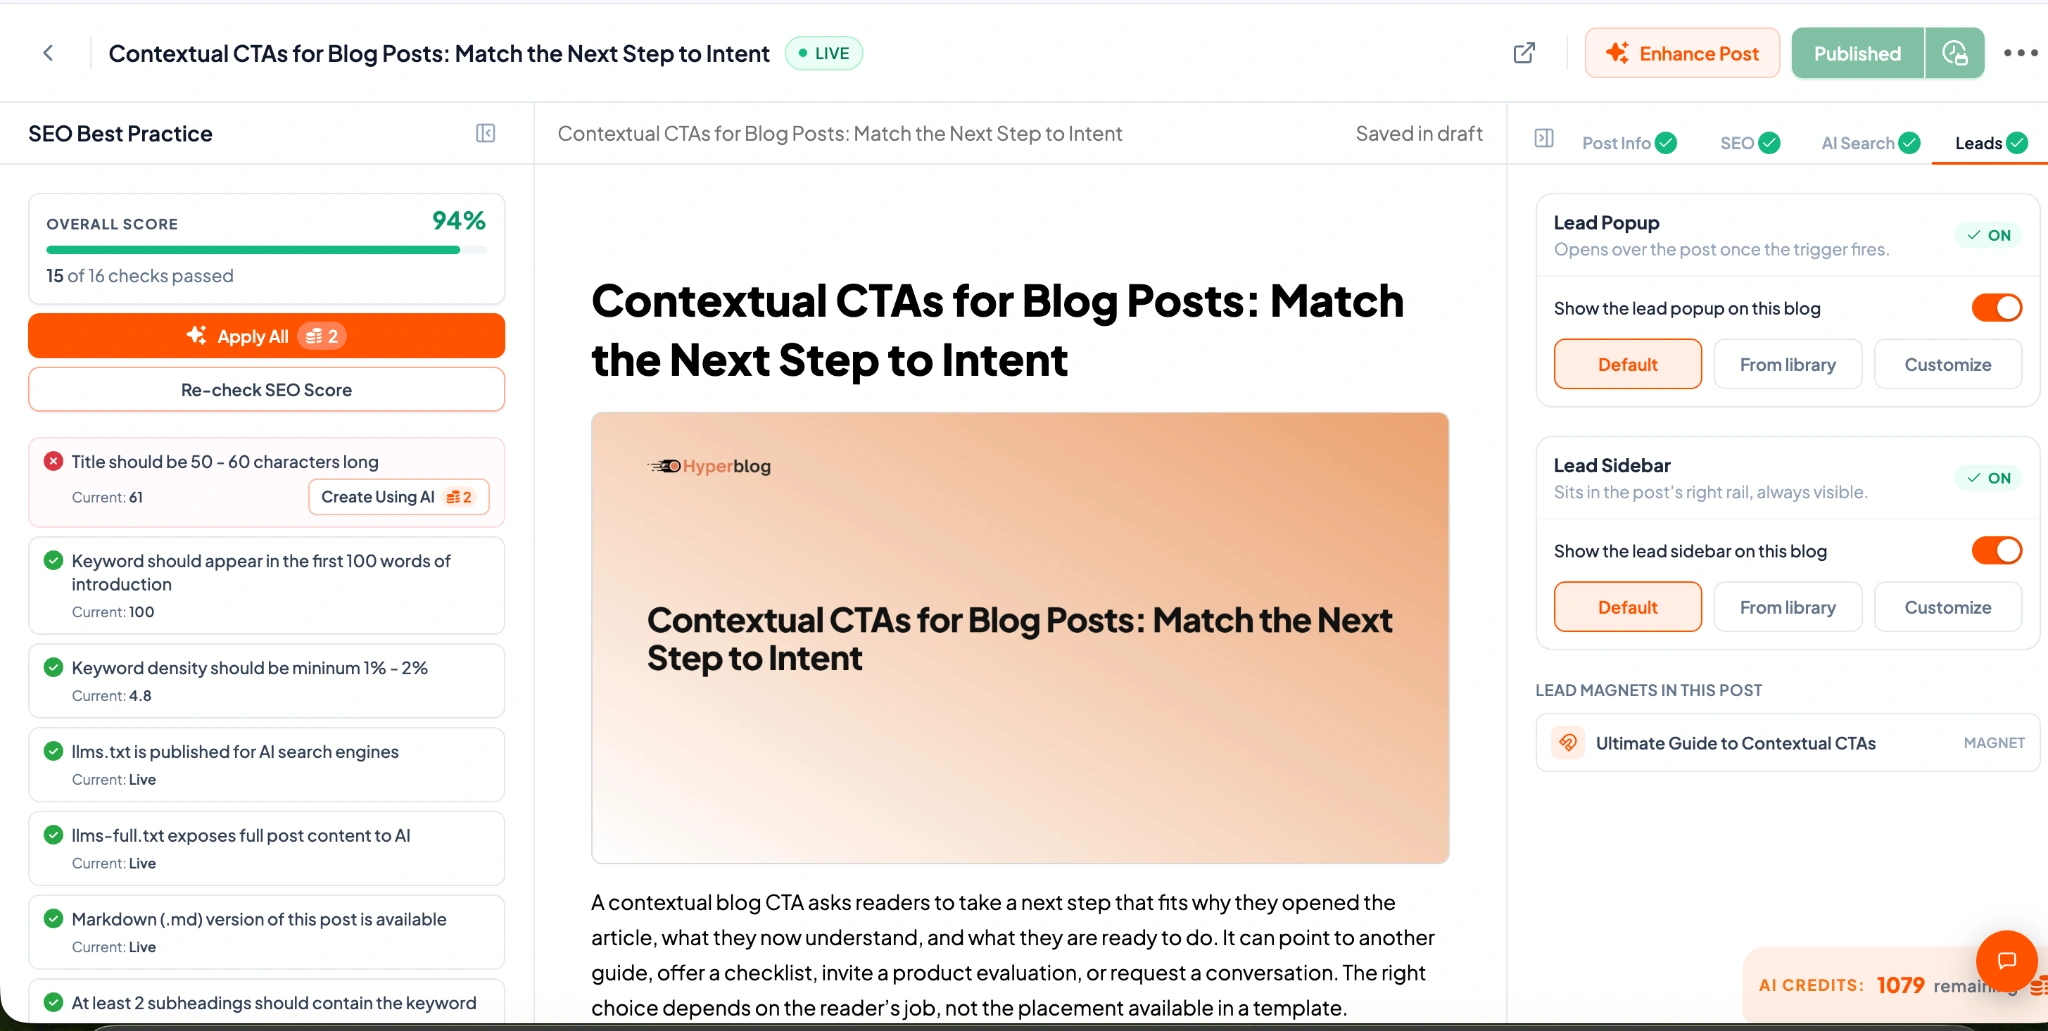
Give your post a banner based on its content.
Add an infographic that makes a key idea easier to follow.
Find, preview, and download visuals from your library.
See actual visuals generated in Hyperblog, then explore how they stay connected to your content.
Give the article a visual introduction that reflects its subject. This example was created for a post about contextual CTAs.
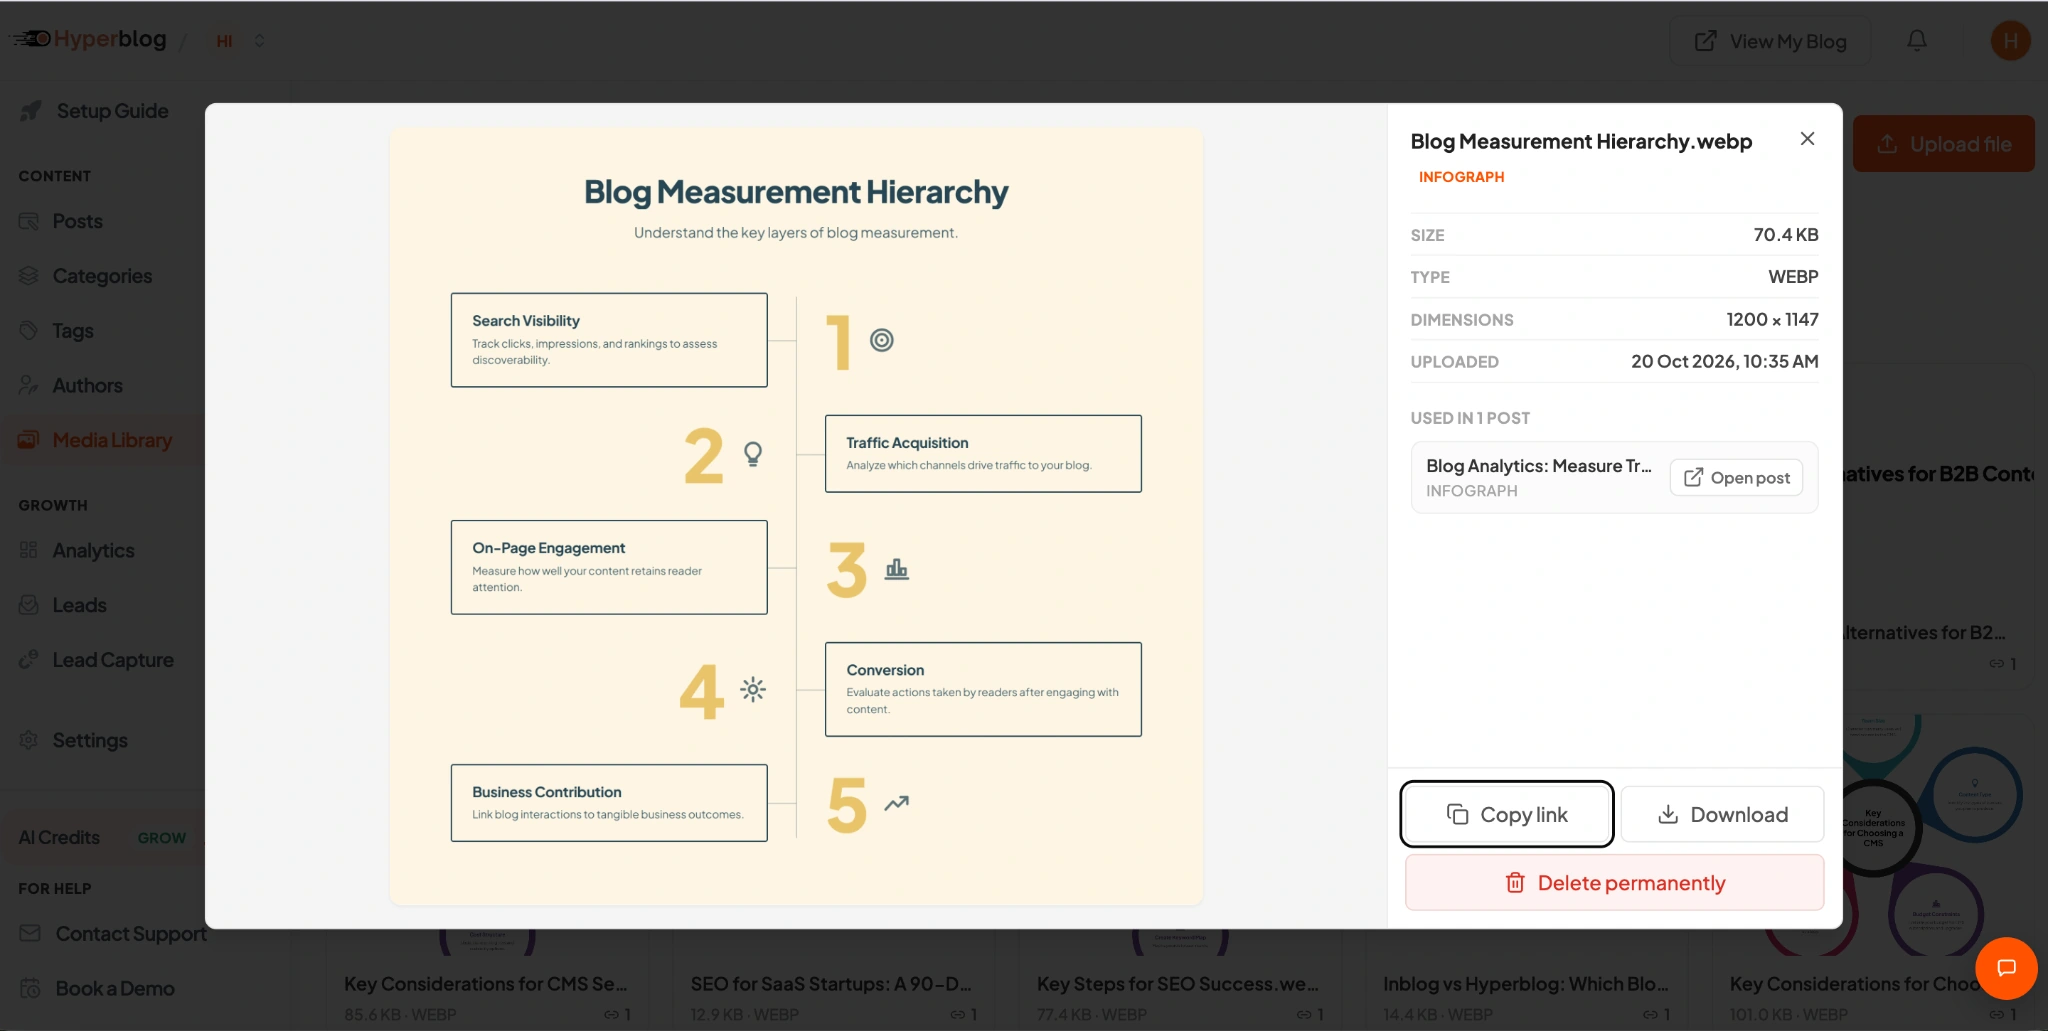
A visual framework can make a long explanation easier to absorb. Here, a blog analytics article becomes a five-part measurement hierarchy.
Open generated media in one place. Preview the file, check its details, and copy its link or download it when you need it.
Create a banner from the article you're already working on, rather than beginning a separate design brief.
Use infographics to explain something inside the post, as well as a banner to introduce it.
Keep generated assets together so they are easier to find when you revisit or share the article.
Work on the article and its visual assets together, so the post is ready to read, view, and share.
Write or bring your article into Hyperblog.
Create visuals with AI and check the output against your post.
Use the visuals in your content and find them again in the Media Library.
Yes. Hyperblog can generate blog banners and infographics from your content. A banner introduces the post, while an infographic can help explain an idea within it.
Generated visuals are available in the Media Library, where you can preview files, inspect their details, copy a link, or download them.
Yes. Check the text, facts, labels, and visual quality before publishing. AI output can need corrections, especially when an image contains detailed information.
AI generation uses credits, with allowances and limits depending on your plan. See the pricing page for current plan details before choosing one.
Bring a draft. Try the visual workflow in your 14-day free trial.
14-day free trial